How to Install an In-Line Fuse Holder: A Step-by-Step Guide

Protecting electrical circuits from overcurrent is vital to avoid damage or fire. An in-line fuse holder houses a fuse directly in the wiring, breaking the circuit if a fault occurs. Proper installation ensures your system stays safe and reliable.
What Is an In-Line Fuse Holder?
An in-line fuse holder is a specialized fuse holder designed to accommodate fuses in automotive, marine, and electronic systems. It is integrated directly into the wire or cable, allowing the fuse to be installed “in-line” with the circuit it protects. This design enables easy installation and replacement of the fuse without disconnecting the entire circuit, providing a convenient way to use fuses that safeguard electrical components from overcurrents and short circuits.
Tools and Materials for In-Line Fuse Holder Installation
Before beginning the installation, gather the following items:
- In-line fuse holder (compatible with your fuse type and amperage), such as the LPR-02 for standard ATC/ATO blade fuses, the LPM-01 for mini blade fuses, or the heavy-duty LPX-01 for maxi blade fuses up to 100A.
- Correct fuse based on circuit requirements, like the ANR series standard blade fuses for the LPR-02 holder, the ANM mini blade fuses for the LPM-01 holder, or the ANX series designed to fit the LPX-01 holder.
- Wire cutters/strippers
- Crimping tool or soldering kit (for making secure wire connections)
- Electrical tape (optional, for extra insulation)
- Multimeter (to test the circuit)

1. Turn Off Power
Disconnect the power to the circuit before starting the installation. For vehicles, be sure to remove the negative terminal from the battery to avoid accidental shorts.
2. Cut and Strip the Wire
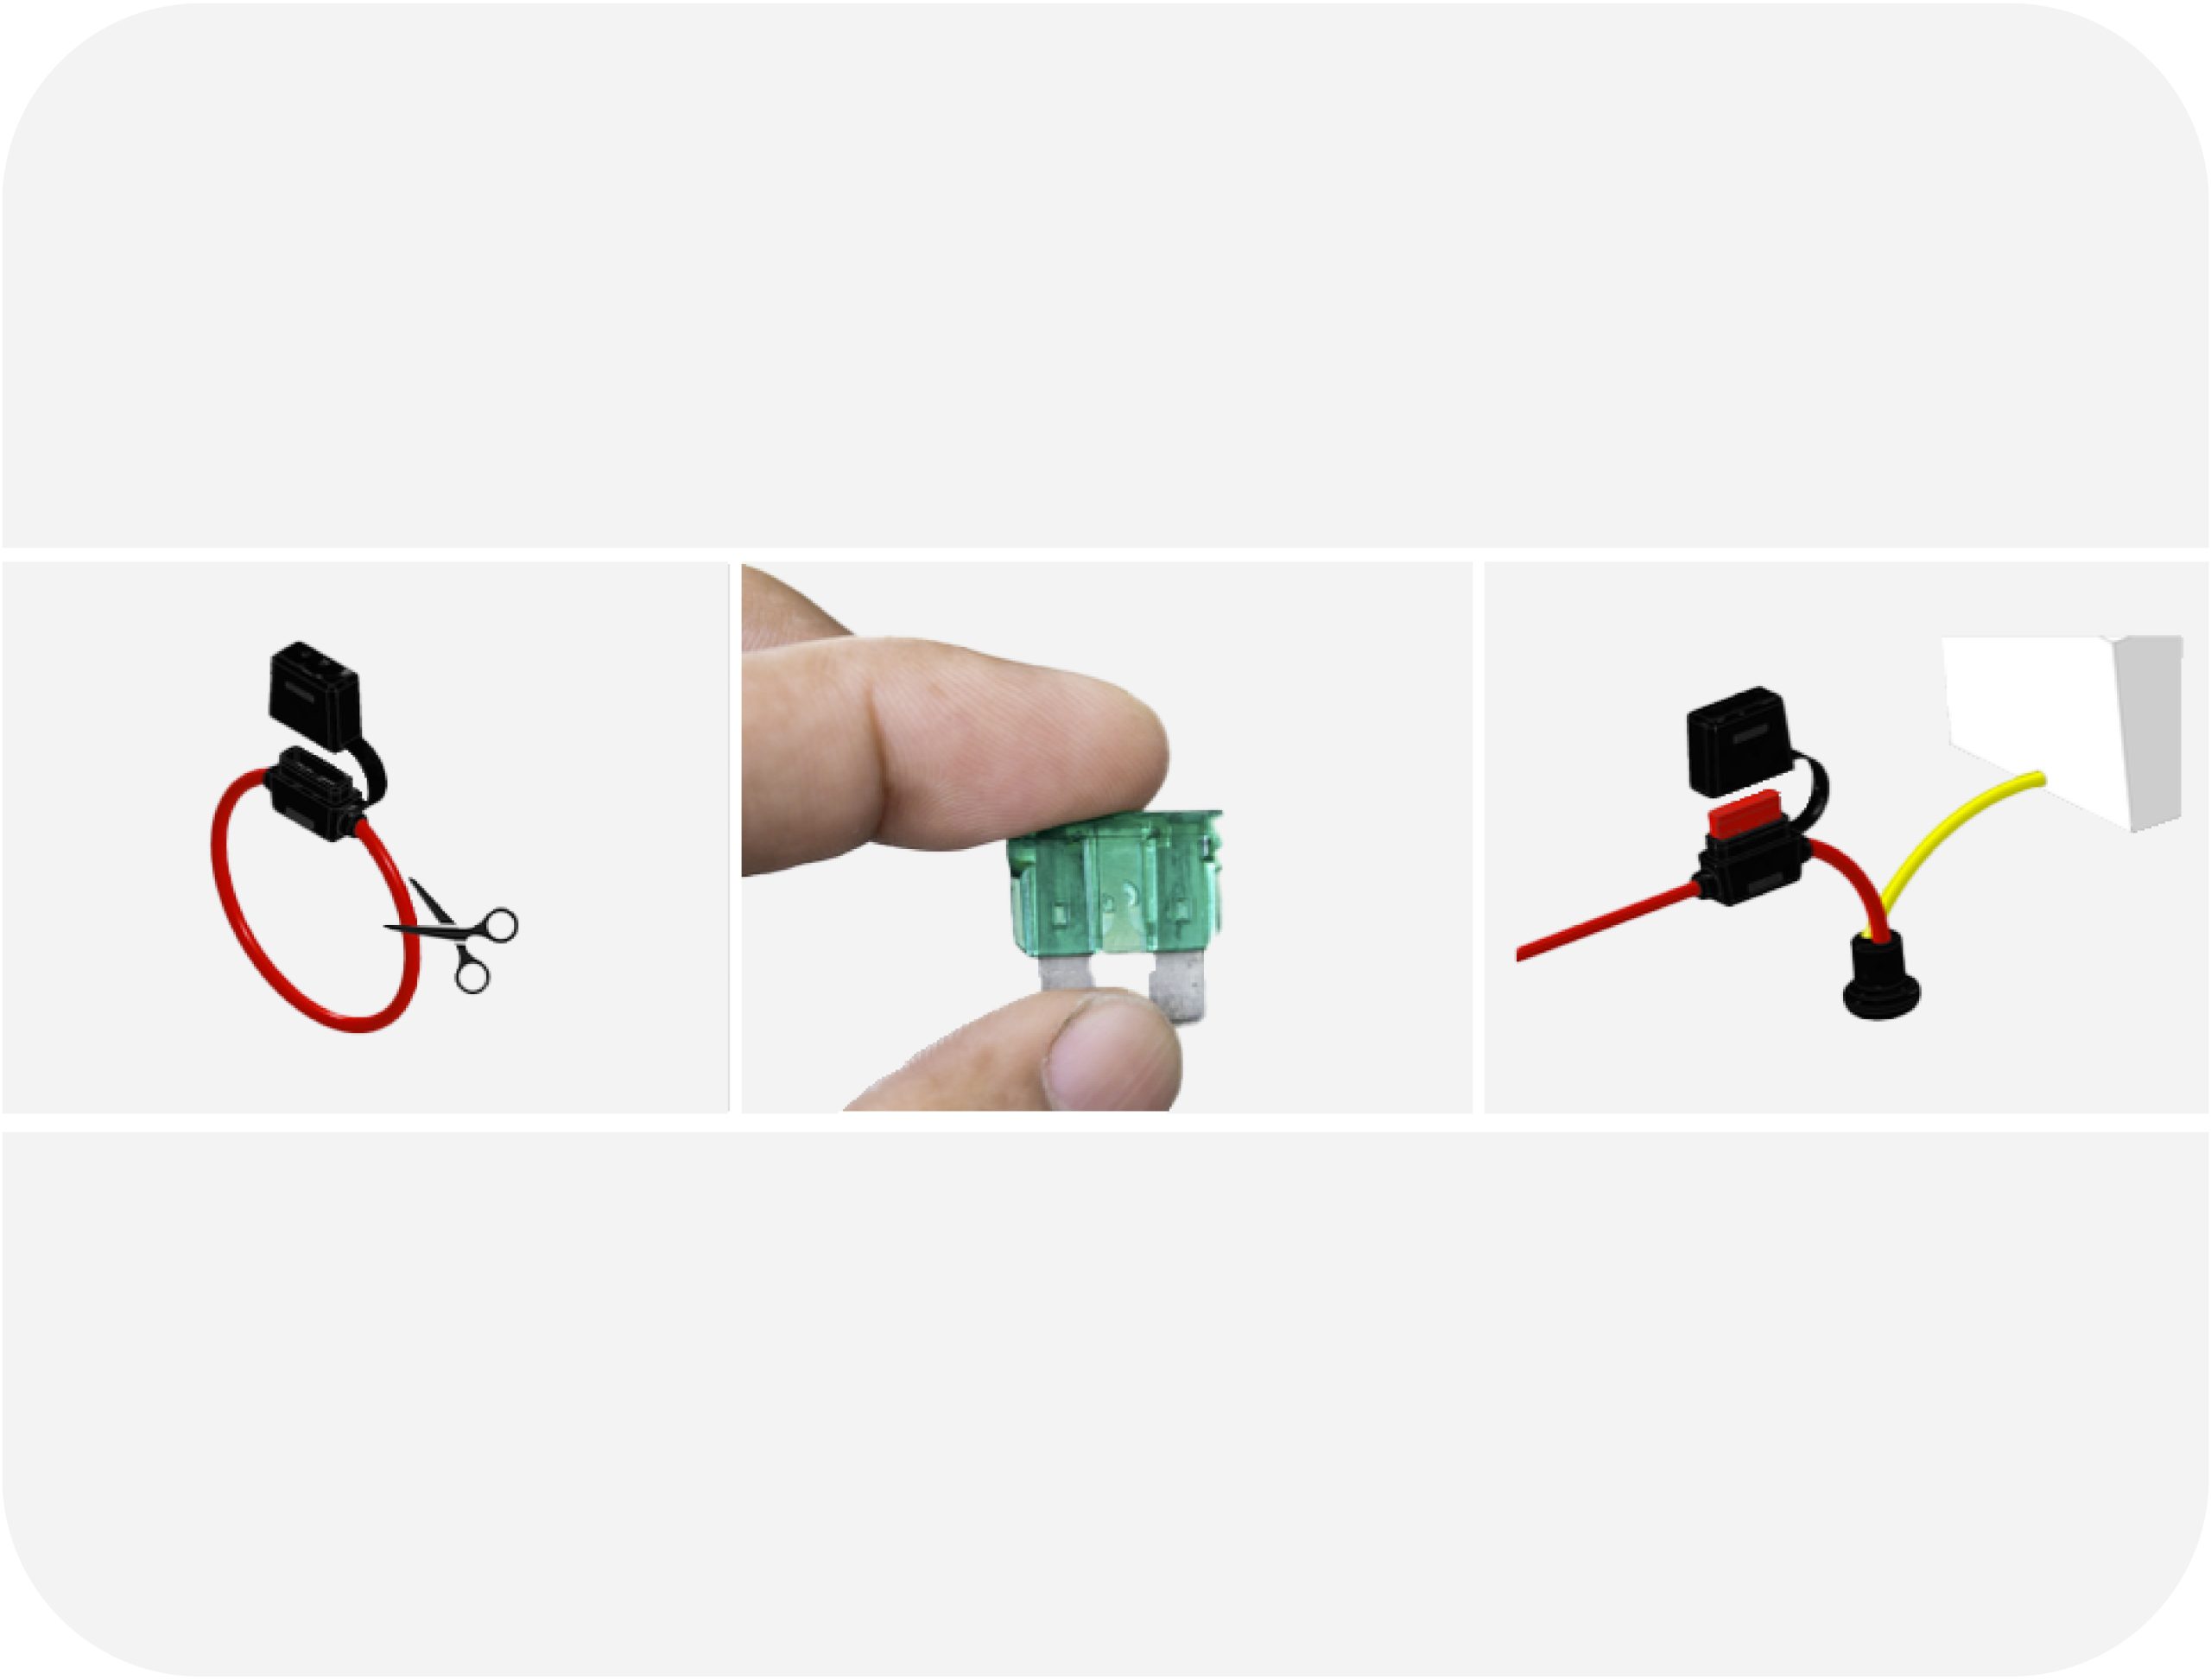
Identify the wire in your circuit that needs protection and carefully cut it. This will create an open gap where the fuse holder will be installed. Use wire strippers to remove a small section of insulation from the ends of the wire. Be careful not to strip too much, as this can lead to accidental shorts.
3. Prepare the Fuse Holder
Most in-line fuse holders come with pre-attached pigtails (short wires on both ends). If your fuse holder doesn’t have pigtails, cut and strip the ends of the wires so they can be securely connected to the circuit.
4. Connect the Fuse Holder to the Circuit
Now, connect one end of the fuse holder to each stripped end of the circuit’s wire. You can do this by crimping or soldering the wire to the fuse holder’s terminals. If you’re using crimp connectors, ensure they’re tightly crimped to avoid loose connections that could cause issues down the road.
5. Insert the Correct Fuse
Insert the appropriate fuse into the holder based on the circuit’s current rating. Make sure the fuse size and voltage rating match the specifications of both the fuse holder and the device you’re protecting.
6. Secure the Fuse Holder
To prevent damage during use, secure the fuse holder in place. Depending on the installation area, you may need to use mounting clips or electrical tape to hold the fuse holder securely.
7. Restore Power and Test the Circuit
Reconnect the power to the circuit and use a multimeter to test the installation. Verify that power flows correctly through the fuse holder and that the device connected to the circuit is working as expected.
For more information on different types of fuse holders, browse our full range of automotive fuse holders and electronic fuse holders to find the solution that fits your application. You can also customize body styles, wire types, and lengths to meet your exact specifications. Visit our In-Line Fuse Holder Customization Guide to learn more.
For a complete overview and to assist in selecting the right fuse for your needs, see our Fuse Selection Guide for complete context.
Samuel Kenny, Product Manager at OptiFuse, leads the development of advanced circuit protection products for automotive, marine, and industrial sectors. He designs custom solutions and shares expert fuse selection tips on the OptiFuse Blog.